Clone Site

| Main » Files » Site Script » Chat | [ Add new entry ] |
Download 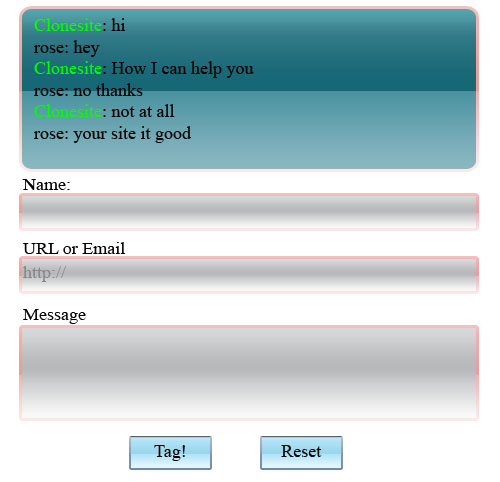
| |||||||||||||||||||||||
How to install Version 2.1 Installing smiletag is very easy, in simple word, you just need to unzip and change the file permission for messages.xml into writable (chmod 666), and smiletag is ready. However, I will try to explain you how to install smiletag in a step by step way as shown below:
If you are using windows, simply unzip the smiletag-latest.zip using tool such as WinZip or WinRAR. If you are using Linux and downloaded the smiletag-latest.tar.gz, then you can uncompress it by typing this command in the console: tar xzvf smiletag-latest.tar.gz
After you uncompress the file, you will find a directory called smiletag, with files inside of it. Upload this directory and all files inside of it into your site root directory. So now you will have a new directory called smiletag with file structure similar to the one shown below:
Since a world writable file is needed for the database, you MUST change the permission for the messages.xml file. You will find this file under data directory. If you are using a windows client to upload the files, such as SmartFTP or CuteFTP or WS_FTP Pro you can simply right click to the file and choose the chmod command. Make sure that the file has write permission. If you are using Linux, use the chmod command. For example: chmod 666 messages.xml
4. Embedding smiletag to your page If you already done the previous steps, then smiletag is up and running. You can see it by opening your browser and point it to the sample.html file. For example: http://www.example.com/smiletag/sample.html You will see smiletag with empty messages. Give it a try ;) Now, after you have fun with it. It's time to embed smiletag into your desired page. In this tutorial, I will embed smiletag into index.php in the root directory. http://www.example.com/index.php To embed smiletag into index.php you need to copy three html section from sample.html. Open sample.html file and you will find code similar as below: <!-- X.Start copy here --> X is a number from 1 until 3. You must copy all three of those html sections into your page. Put it anywhere you like. But for the first section (number 1), I suggest you put it inside <head></head> tag, as it will speed up your page load time better. Now you need to modify the path inside those three sections, so the form and iframe have the right action/source. Find three lines below :
<script type="text/javascript" language="JavaScript" src="smiletag-script.js"></script> <iframe name="iframetag" marginwidth="0" marginheight="0" src="view.php" width="190" height="300"> <form name="smiletagform" method="post" action="post.php" target="iframetag">
and change its path to:
<script type="text/javascript" language="JavaScript" src="smiletag/smiletag-script.js"></script> <iframe name="iframetag" marginwidth="0" marginheight="0" src="smiletag/view.php" width="190" height="300"> <form name="smiletagform" method="post" action="smiletag/post.php" target="iframetag">
Well, right now your smiletag should be up and running with the default configuration. There are lots of smiletag features which can be set from smiletag-config.xml file. Take a look at the file and read the comment inside of it for further configuration. I will cover more detail about smiletag configuration in the next tutorial, soon. If you have any question or comment, please mailto: support [at] smiletag [dot] com Hope you enjoy this script. Visit our site at http://www.smiletag.com | |||||||||||||||||||||||
| Views: 2818 | Downloads: 225 | Rating: 0.0/0 | |||||||||||||||||||||||
|
Popular Clone Site |
Statistics Total online: 1 |
Frendly Site |
Advertising |
Theme Design by The Theme Foundry | Hosted by uCoz | Programming by Karwanpro
Copyright Clone Site © 2010 - 2024